
Kenya Chicken Farming Equipment: Installation Video Tutorial – A Comprehensive Guide
Time : 2025-04-27
Hey there, fellow chicken farming enthusiasts! Are you all set to set up your chicken farm in Kenya and looking for some expert guidance on installing the necessary farming equipment? Well, you’re in luck! We’ve got a brand-new video tutorial just for you. Whether you’re a beginner or a seasoned farmer, this guide will walk you through the entire process in a jiffy. So, let’s dive right in and get those coops ready!
Introduction to Chicken Farming Equipment in Kenya
First things first, let’s talk about the chicken farming equipment you’ll need. Kenya, with its thriving poultry industry, requires some essential tools to ensure a smooth operation. From feeders and waterers to nesting boxes and ventilation systems, these are the basics you can’t afford to miss.
Importance of Proper Installation
Now, you might be wondering why installation is so crucial. Well, it’s all about maximizing efficiency and minimizing risks. Properly installed equipment not only ensures the well-being of your flock but also helps in reducing costs and increasing productivity. So, let’s not take any chances and learn how to install these units like a pro!
The Installation Video Tutorial
In this video tutorial, we’ve got everything covered. From step-by-step instructions to handy tips and tricks, this guide will help you get the job done with ease. So, without further ado, let’s hit play and get started!
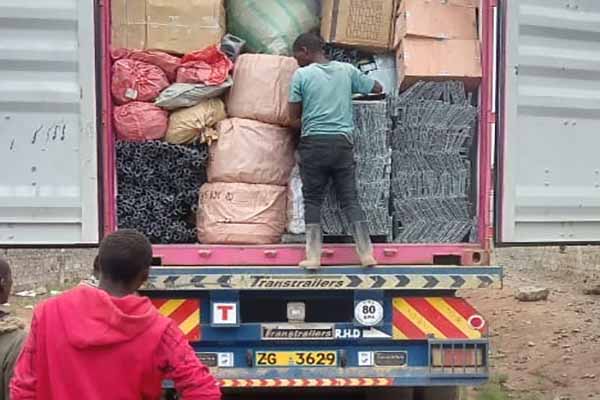
Step 1: Gathering the Equipment
Before you begin, make sure you have all the necessary equipment. This includes:
– Chicken coops
– Feeders
– Waterers
– Nesting boxes
– Ventilation systems
– Lighting systems
Ensure that all the equipment is in good working condition and matches the size of your chicken farm.
Step 2: Laying the Foundation
Start by preparing the ground where you’ll install the equipment. Clear any debris, level the surface, and ensure good drainage. This is crucial to keep your flock healthy and prevent diseases.
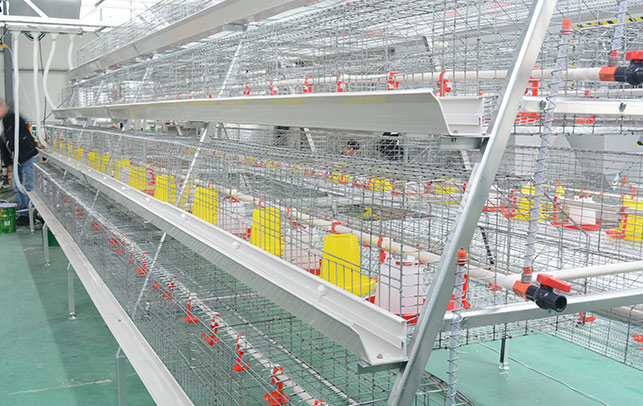
Step 3: Setting Up the Coops
Next, assemble the chicken coops. Follow the manufacturer’s instructions for assembly and ensure the structure is stable. Place the coops in a location with ample sunlight and shelter from harsh weather conditions.
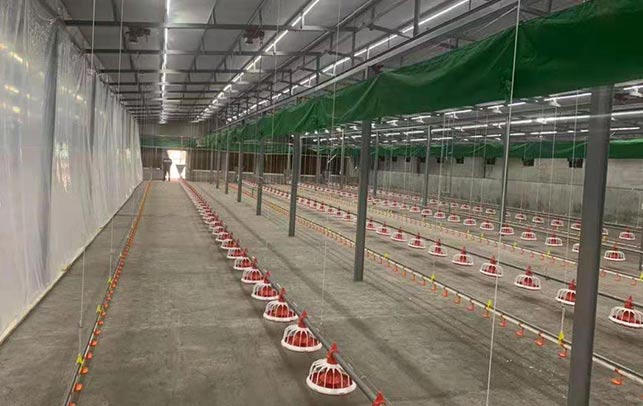
Step 4: Installing Feeders and Waterers
Attach the feeders and waterers to the walls of the coops. Ensure they are easily accessible to your chickens. Use heavy-duty clamps or brackets to secure them in place. Remember to clean and disinfect the feeders and waterers regularly to maintain hygiene.
Step 5: Nesting Boxes
Install the nesting boxes inside the coops. Place them at the right height and ensure they are well-ventilated. Provide enough boxes for your chickens, as overcrowding can lead to stress and poor egg production.
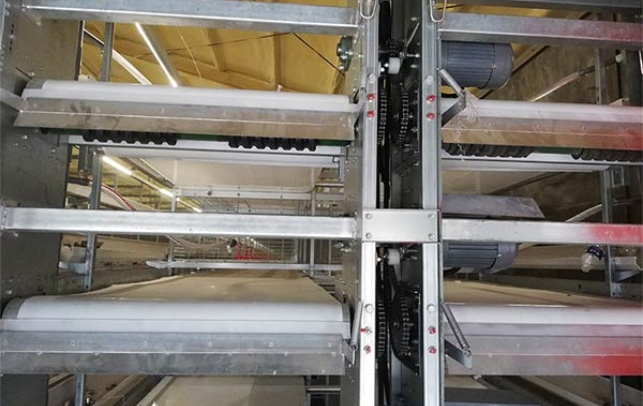
Step 6: Ventilation and Lighting Systems
Proper ventilation is essential for maintaining a healthy environment. Install ventilation systems that allow for adequate air exchange without letting in pests or harsh weather. Additionally, ensure your chickens have access to natural light or a reliable artificial lighting system.
Step 7: Final Checks
Before you call it a day, double-check everything. Ensure all equipment is working correctly, and the chickens are comfortable in their new environment. Don’t forget to check for any loose parts or leaks.
Conclusion
And there you have it, folks! Your chicken farming equipment in Kenya is now all set up and ready to go. With this comprehensive video tutorial, you can be confident that you’ve done everything right. Happy farming!
Tags