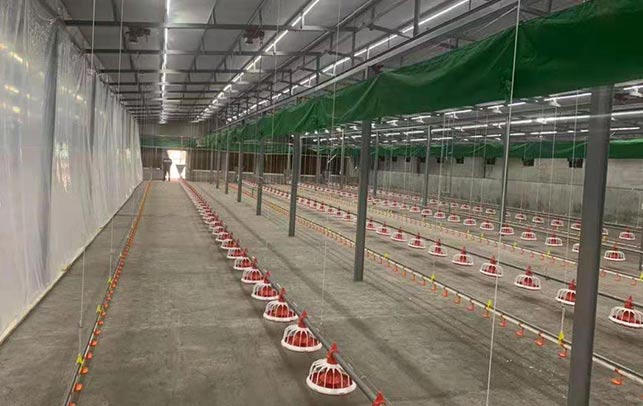
How to Make a Broiler Chicken Cage: A Step-by-Step Guide
Time : 2025-04-19
Creating a broiler chicken cage is a crucial task for anyone looking to raise broiler chickens efficiently and comfortably. Whether you’re a seasoned farmer or a beginner, knowing how to make a broiler chicken cage properly can make a significant difference in the health and well-being of your birds. In this article, we’ll walk you through the process of building a broiler chicken cage, from gathering materials to the final touches. Let’s get started!
Step 1: Plan Your Broiler Chicken Cage
Before you start building, it’s essential to plan your broiler chicken cage. Consider the following factors:
– Size: The cage should be large enough for the chickens to move around comfortably. A general rule of thumb is to provide at least 2 to 3 square feet of space per chicken.
– Ventilation: Good air circulation is vital to prevent the build-up of ammonia and to keep the chickens cool.
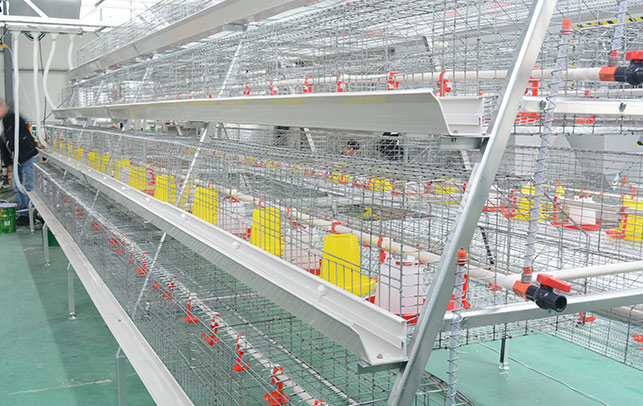
– Feeding and Watering: Plan for a feeding and watering system that is easy to clean and provides the chickens with fresh food and water.
– Location: Choose a location that is protected from predators and weather extremes.
Step 2: Gather Your Materials
To build a broiler chicken cage, you’ll need the following materials:
– Cage Wire: Choose a high-quality wire mesh that is strong and durable.
– Stakes or Posts: These will be used to anchor the cage to the ground.
– Nails or Screws: For securing the wire to the stakes or posts.
– Tape: Duct tape or zip ties can be helpful for temporary repairs or adjustments.
– Feeding and Watering Trays: These should be durable and easy to clean.
– Roosting Bars: Provide a comfortable place for the chickens to roost at night.
Step 3: Measure and Cut the Wire
Start by measuring and cutting the wire mesh to the desired size. If you’re not sure about the dimensions, use a piece of string or a rope to mark the length and width of the cage. Remember to add extra length for folding the edges over and attaching the stakes or posts.
Step 4: Assemble the Frame
Once you have your wire cut to size, you can start assembling the frame. Begin by attaching the wire to the stakes or posts. You can use nails, screws, or a combination of both to secure the wire. Make sure the stakes or posts are driven deeply into the ground for stability.
Step 5: Attach the Roof
If you’re building a cage with a roof, cut the wire to the appropriate length and attach it to the frame. Make sure the roof is slanted to allow for proper drainage.
Step 6: Add Feeding and Watering Trays
Attach the feeding and watering trays to the inside of the cage. These should be positioned so that the chickens can access them easily but not waste too much feed or water.
Step 7: Install Roosting Bars
Install roosting bars at the desired height inside the cage. The chickens should be able to roost comfortably without touching the ground.
Step 8: Secure the Door
Make sure the door of the cage is secure and easy to open and close. You may want to use a latch or a hook to keep the door closed.
Step 9: Final Touches
Once the cage is assembled, inspect it for any sharp edges or loose parts. Make any necessary repairs or adjustments. Also, consider adding a cover or a tarp to protect the chickens from harsh weather.
Step 10: Monitor and Maintain
After your broiler chicken cage is set up, monitor the chickens regularly. Check for any signs of stress or illness and maintain the cage by cleaning it regularly.
Conclusion
Building a broiler chicken cage may seem like a daunting task, but with a bit of planning and some basic tools, you can create a safe and comfortable environment for your chickens. By following these steps, you’ll be well on your way to raising healthy broiler chickens.
