
Installation Schedule for Uganda Chicken Farm Equipment
Time : 2025-04-24
Are you planning to set up a chicken farm in Uganda and need to know the installation schedule for the equipment? You’ve come to the right place! In this article, we’ll break down the key aspects of the installation process, ensuring your farm is up and running smoothly. Let’s dive in!
Understanding the Chicken Farm Equipment
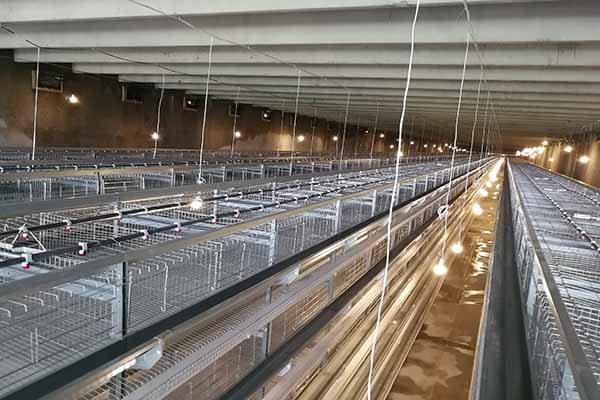
Before we get into the installation schedule, let’s take a quick overview of the equipment you might need for your chicken farm in Uganda. Typically, this includes:
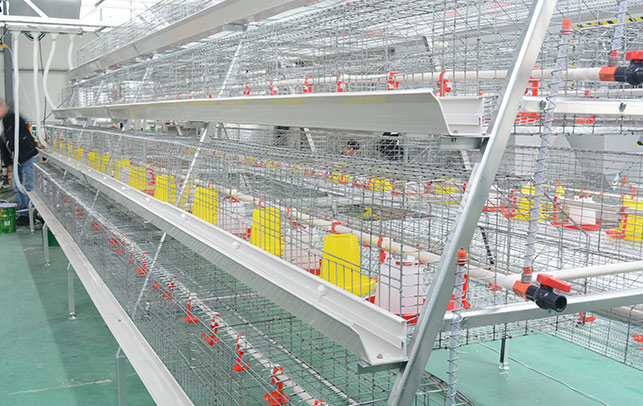
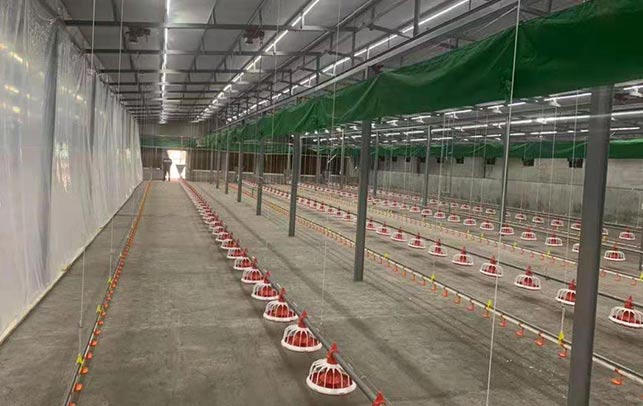
– Feeding Systems: To ensure the chickens receive a balanced diet.
– Watering Systems: Essential for hydration.
– Ventilation and Cooling Systems: Keeping the chickens comfortable, especially during the hot months.
– Roosting and Nesting Boxes: Where the chickens will rest and lay their eggs.
– Lighting Systems: To regulate the chickens’ natural circadian rhythm and egg production.
– Cleaning Equipment: To maintain a clean and hygienic environment.
Pre-Installation Preparations
Before the installation team arrives, there are a few things you need to prepare:
– Site Preparation: Clear the area, ensure it’s level, and provide adequate drainage.
– Power Supply: Confirm that your power supply is sufficient for the equipment.
– Water Source: Ensure a reliable water source for the watering systems.
– Materials: Have all necessary materials ready on site, such as concrete, wiring, and tools.
Installation Schedule Overview
Now, let’s look at a typical installation schedule for a chicken farm in Uganda. Keep in mind that this is a general guide, and the actual schedule may vary based on the size of your farm and the specific equipment being installed.
Day 1: Arrival and Initial Inspection
– Morning: The installation team arrives and inspects the site.
– Afternoon: Review the project plan and discuss any specific requirements or concerns.
Day 2: Foundation and Structure Setup
– Morning: Set up the foundation for the feeding systems and cooling systems.
– Afternoon: Construct the framework for the roosting and nesting boxes.
Day 3: Feeding and Watering Systems Installation
– Morning: Install the feeding systems, including the troughs and feeders.
– Afternoon: Set up the watering systems, ensuring proper flow and pressure.
Day 4: Ventilation and Cooling Systems
– Morning: Install the ventilation fans and cooling pads.
– Afternoon: Check the ventilation system to ensure proper airflow.
Day 5: Lighting Systems and Nesting Boxes
– Morning: Install the lighting systems, ensuring even distribution.
– Afternoon: Set up the nesting boxes and roosting areas.
Day 6: Final Adjustments and Testing
– Morning: Make any necessary adjustments to the systems.
– Afternoon: Conduct a full system test to ensure everything is working correctly.
Day 7: Handover and Training
– Morning: Handover the equipment and systems to your staff.
– Afternoon: Provide training on the operation and maintenance of the systems.
Post-Installation Checklist
After the installation is complete, here’s a checklist to ensure everything is up to par:
– Functionality Test: Check all systems to ensure they’re working correctly.
– Cleanliness Check: Ensure the farm is clean and free of any debris.
– Documentation: Receive all documentation for future reference.
– Support Contact: Have the installation team provide contact information for any follow-up issues.
Conclusion
Setting up a chicken farm in Uganda can be an exciting venture, and having a well-planned installation schedule is crucial. By following this guide, you can ensure that your farm is equipped with the necessary systems to produce healthy chickens and eggs.
Remember, this schedule is just a general guideline. It’s essential to communicate with your installation team to tailor the schedule to your specific needs and circumstances.
Tags